Varlamore: The Final Dawn update has arrived, with The Doom of Mokhaiotl making its presence known as the first Delve boss in OSRS. Every time you beat The Doom of Mokhaiotl, it will retreat underground, become stronger, and give you a chance to fight it again for even more rewards. This guide will show you the best gear and strategies to farm The Doom of Mokhaiotl.
Boss Requirements
To access the Doom of Mokhaiotl, you will need to complete the Final Dawn quest and level 80 combat skills. While it’s not required, Demonbane weapons are the optimal choice since this boss counts as a Demon.
Boss Location
The entrance to this dungeon is located in Tlati Rainforest, which is northwest of Kastori. You can easily teleport to Kastori using the Pendant of Ates.
Best Gear and Item Setup
For gearing, a ranged loadout will be best for the Doom of Mochaiotl, though you will still need Emberlight to deal with certain mechanics. Take the following weapons and armor:
- Weapon: Scorching Bow
- Backup weapon #1: Emberlight
- Backup weapon #2: Purging staff
- Helmet: Masori mask
- Chest: Masori body
- Legs: Masori chaps
- Hands: Zaryte vambraces
- Boots: Pegasian boots
- Back: Blessed Dizana’s quiver
- Necklace: Necklace of anguish
- Ring: Venator ring
As for potions, bring at least 10 Saradomin brews, 3 Ranging potions, 5 Sanfew serums, and 1 Prayer regeneration potion.
For magic, Resurrect Greater Ghost, Dark Demonbane, and Death Charge will be important for this fight. Bring runes for Soul, Blood, Death, Cosmic, and Fire.
Doom of Mokhaiotl: Mechanics and Strategy
This boss primarily uses Ranged and Magic damage, meaning Protect against Missiles and Protect against Magic are crucial to staying alive in this fight. The Doom of Mochaiotl will color-code its attacks: Green for Ranged attacks and blue for Magic attacks.
Boulder attack
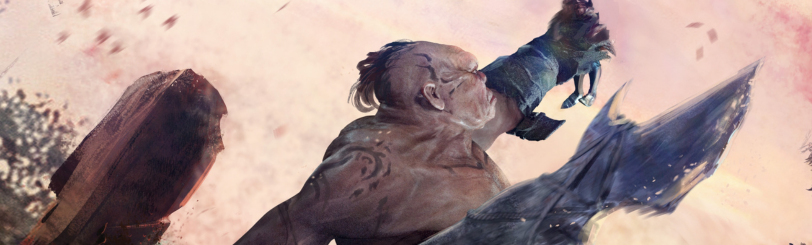
One of its mechanics is that it will launch a boulder at you. While mid-air, the boulder will shatter and disable your prayer. There will be a shadow on the floor where the fragments will land, so step away from those when you see them. Two projectiles will follow up once the fragments land, the first being the damage type shown by the boulder, and the second being the opposite damage (brown for Ranged, glowing blue for Magic)
Volatile earth
The Doom of Mokhaiotl will summon volatile earth on random tiles in the arena. After a short duration, the boss will unleash an arena-wide shockwave that cannot be mitigated by prayer. You can avoid taking damage from this attack by shooting a volatile earth to release a moving bubble shield.
You will need to shoot two volatiles, as these will dictate where the shield will travel: The first one being the end point of its path, and the second one being the shield’s spawn location.
Healing larva
Occasionally, demon larvae will spawn in the arena and travel towards the boss. These must be killed before they reach the boss, as once they do, they will heal the Doom. These can easily be killed with one hit from a demonbane weapon. When a larva dies, it explodes in a 3x3 radius that can damage you, but can also damage the boss.
Charge attack
The boss will cast Protection from Missiles/Magic and charge up a powerful attack, indicated by a yellow bar on its health gauge. When the bar is filled up, you will take guaranteed 60 damage, scaling up per delve level. To stop the attack, you must hit it with Emberlight to interrupt the cast.
Delve Level 3+ Mechanics
These mechanics only appear once you reach higher-level delves and will happen with greater frequency.
Shield Charge Attack
This mechanic is a mix of the healing larva and charge attack, except now the boss will have a shield and will cast the charge attack again after you hit it. This mechanic ends once you deplete its shield, which is done by killing a larve while it's near the boss. The larva will also have a random Protect prayer while approaching the boss, so be sure to switch weapons when appropriate.
Poison spit
The boss will face a random direction and spit a bunch of poison pools into the ground. Stepping on the affected will inflict poison on you, which is why the Sanfew serums are vital for this fight.
Racecar attack / Slam
A yellow eye will appear in the arena, which the boss will then rush towards, dealing damage to anyone caught in its path. Once it reaches its path, it will slam the ground and deal damage to you. You can mitigate this damage by hiding behind a fallen rock facing the boss. When the rush attack is happening, make sure to stand near a rock so you can immediately react to the following slam.